Duration: 50 hours
Team Members: 3
Skills Applied: Circuit Assembly, Arduino IDE (C), CNC Router, Mechanical Systems Analysis, Sketching, User Research
Tools Used: Arduino, CNC Router, Drill, Misc. Electronic Components, Sandpaper, Spraypaint
This project was composed of a team of three people. We were tasked with creating an assistive device for an older person we were paired with from CMU’s Osher Institute. We were paired with a client and met with him in his home to talk to him more about his day to day life, what tasks he had trouble with, and areas he felt could be improved by the creation of some sort of gadget or device. The client was a graphic and jewelry designer who typically works on commissions every evening on the couch while he and his wife watch the news.
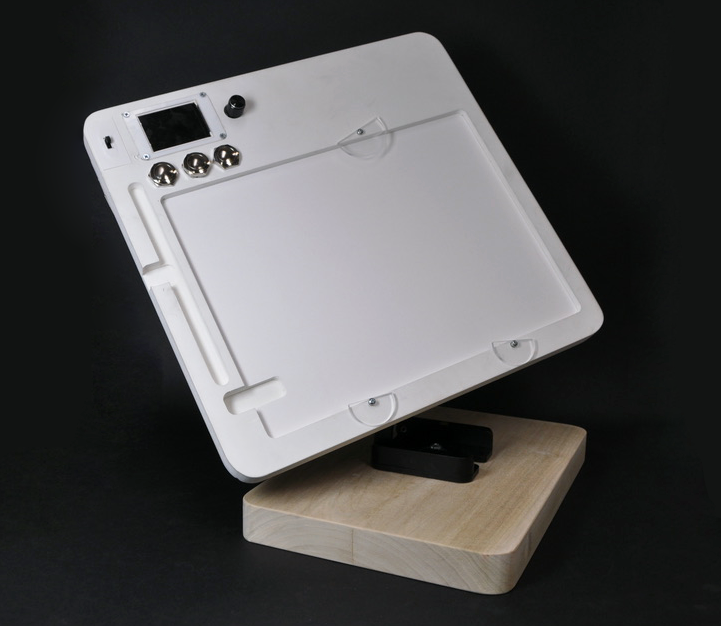
Based on what we learned from our discussion with the client, we began to build an interactive iPad stand that would make his process of making drawings for jewelry commissions easier and more efficient.
The Stand:
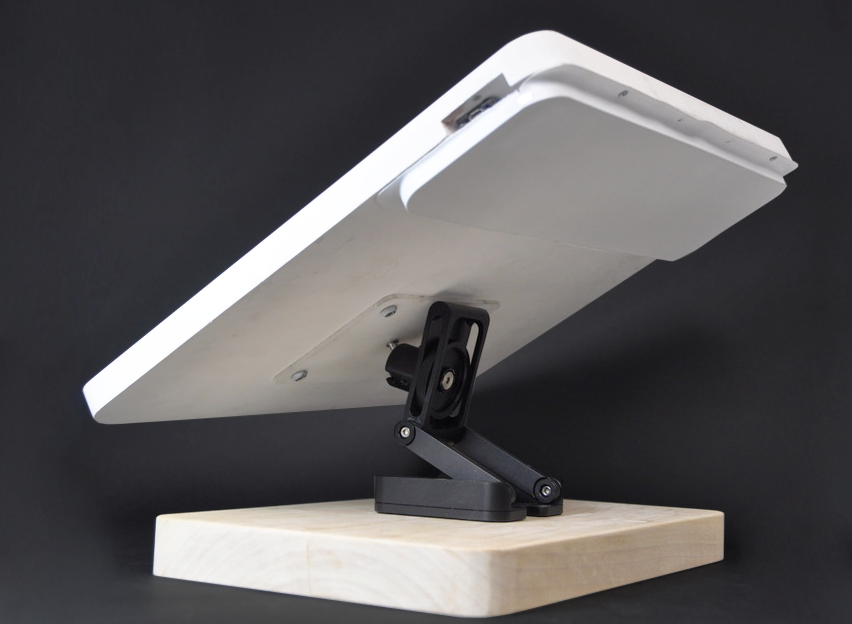
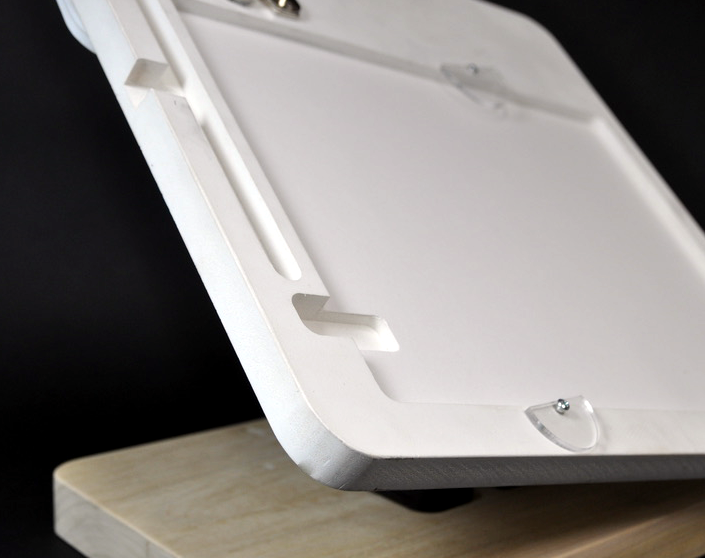
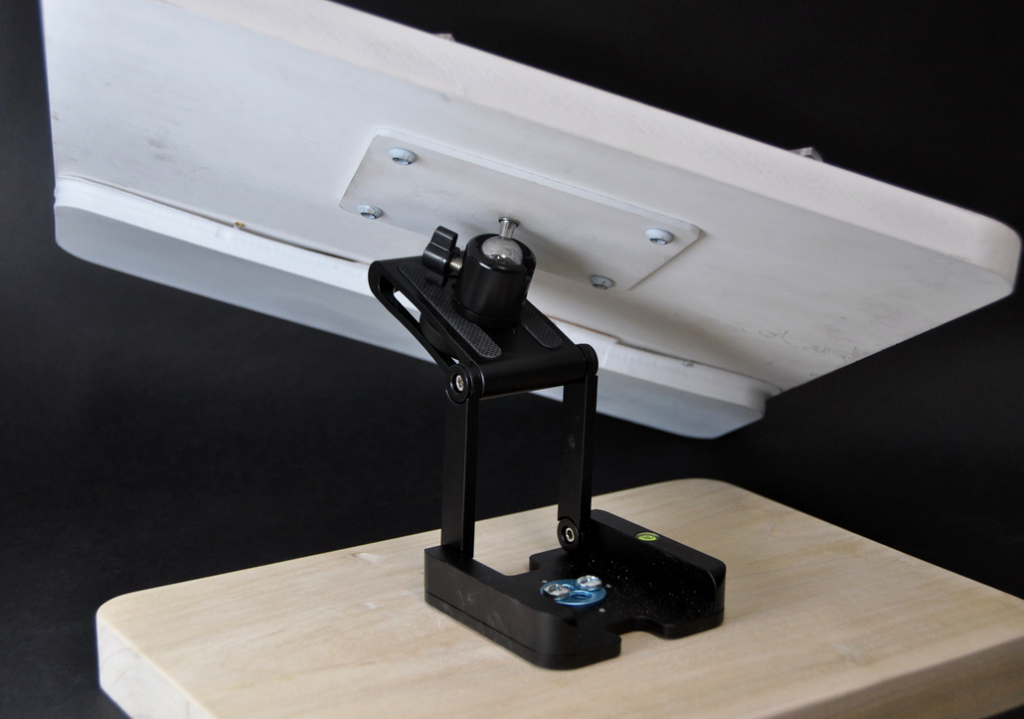
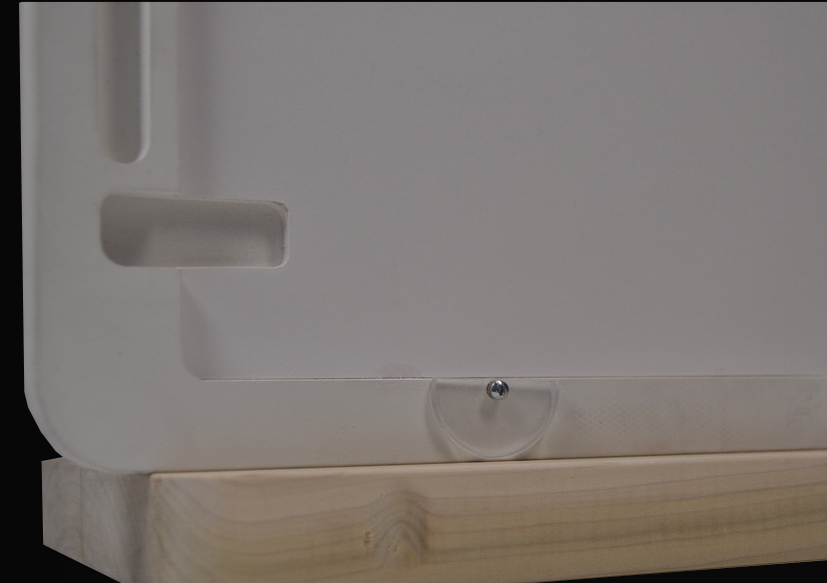
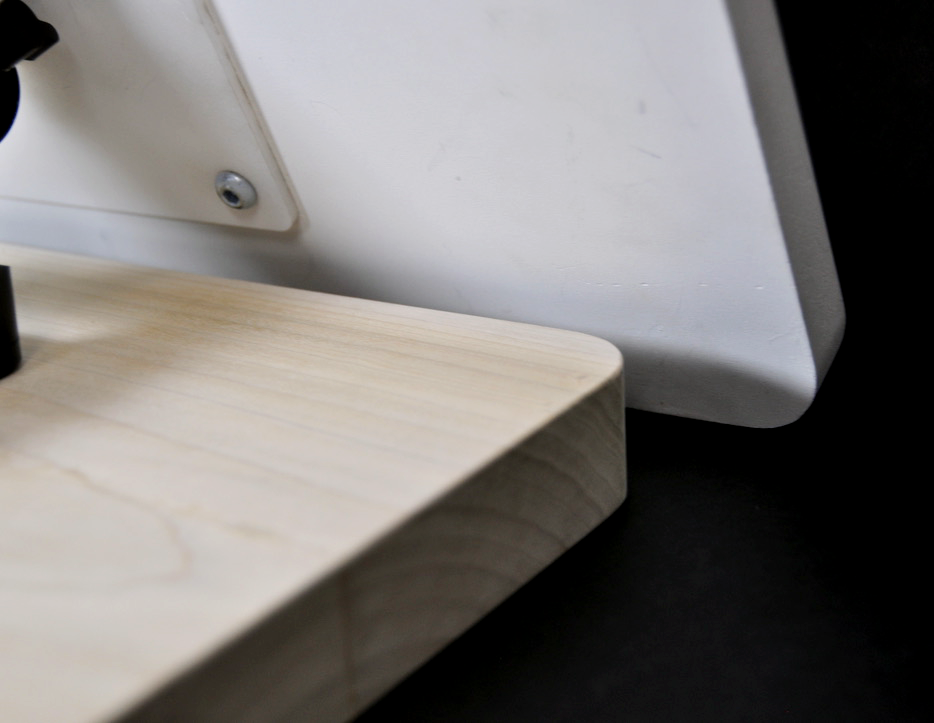
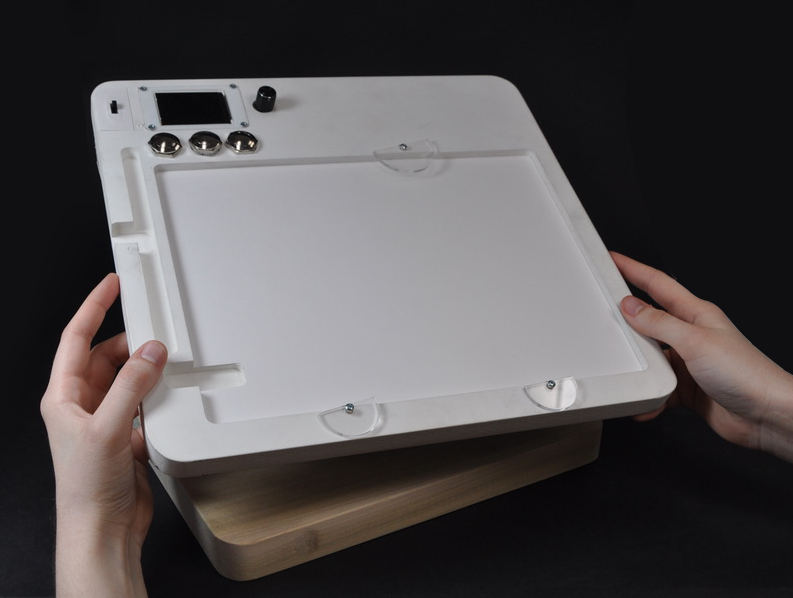
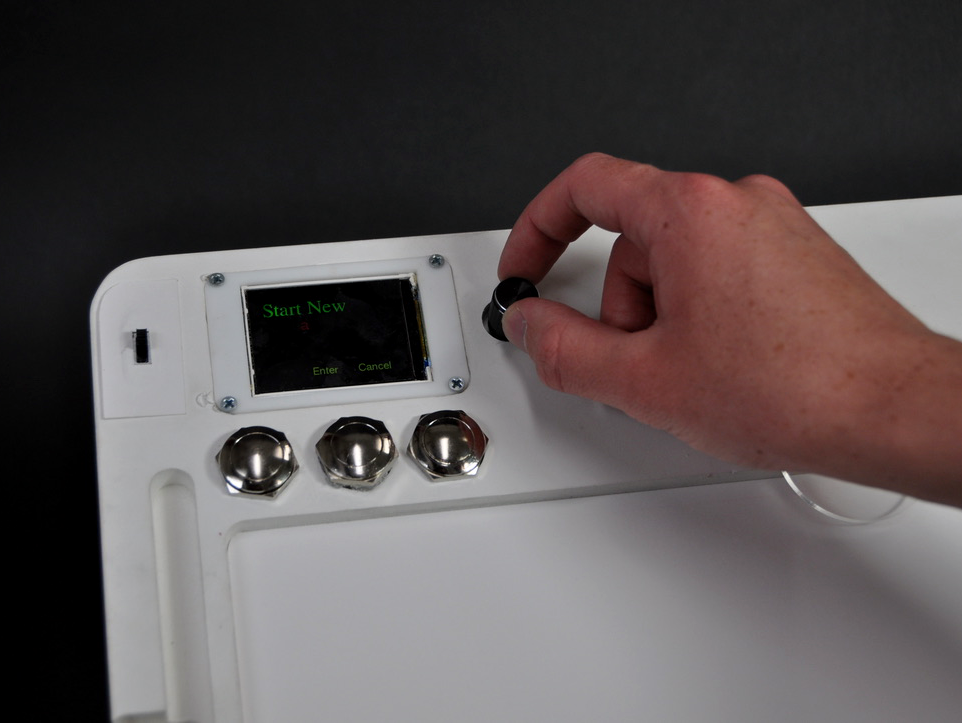
We built an interactive iPad stand for the client that allows him to position his iPad in different directions and angles while keeping a log of his different commissions and tracking how long he’s been working on drawings for each one. On the mechanical spectrum, the stand is comprised of a baseboard made of wood, on which a joint that allows the top plate to move up and down, into which a ball and socket joint is screwed, which connects to the top board via a plate screwed into the plastic of the top material. The top board is made of a plastic composite that was milled on both sides, and has slots for the clients iPad and Apple Pencil. The electronics consist of a screen, buttons to navigate the menu on the screen, and a rotary encoder to input names for each commission.
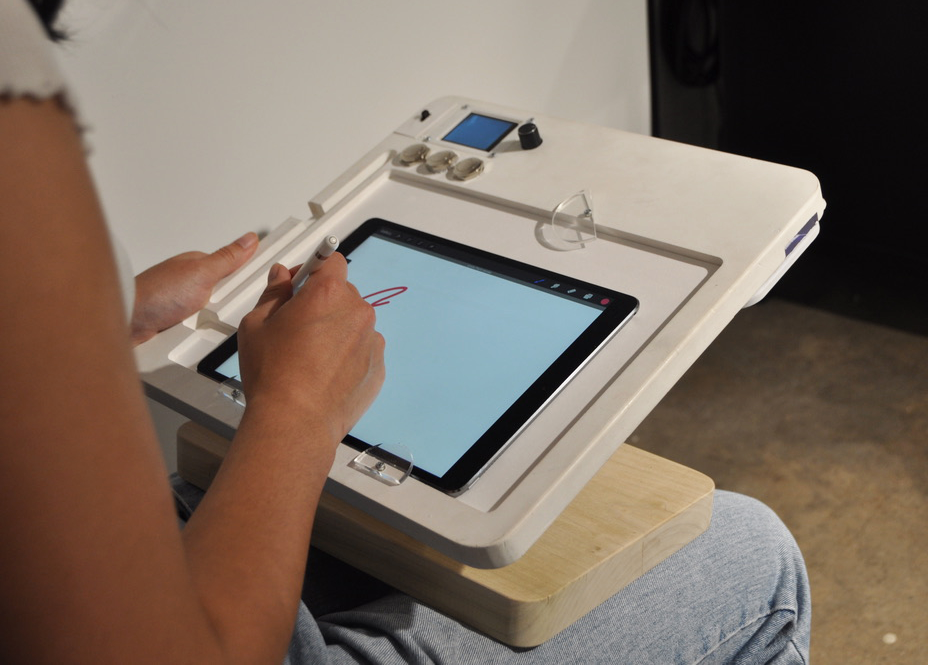
Here’s a hypothetical situation for its use: The client and his wife have just finished dinner and now are sitting on the couch watching the news, as they do many nights. The client wants to work on drawings for a new jewelry commission of a necklace charm he’s just received for a client, Anna, so he grabs his iPad stand, puts it on his lap and begins.
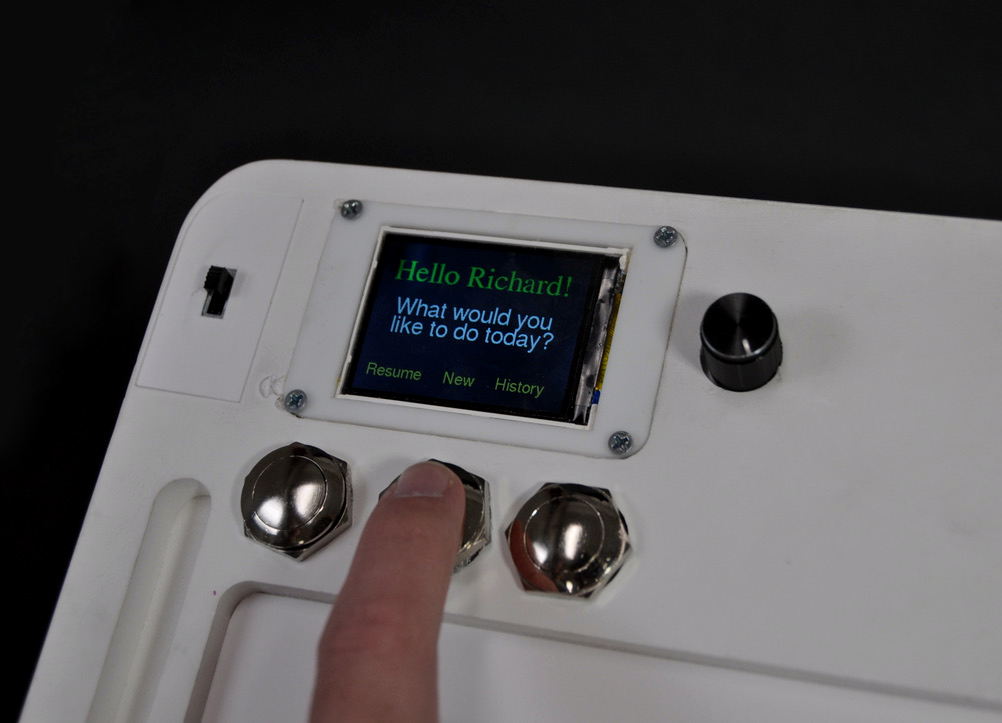
He starts by turning on the screen embedded in the top board of the stand, and navigates to input a new project. Using the rotary encoder, he names the project “Anna”, hits the center button to go navigate to and start the timer, and begins to draw on his iPad. When he’s finished drawing for the night, he hits the “Archive” button, then switches the screen off. The next night, he starts up the timer where it left off and continues to draw Anna’s necklace charm.
This video shows some of the menu’s functionality, including entering a new project, saving then resuming the said project, and then archiving it once it’s finished.
Documentation can be seen on the next page.