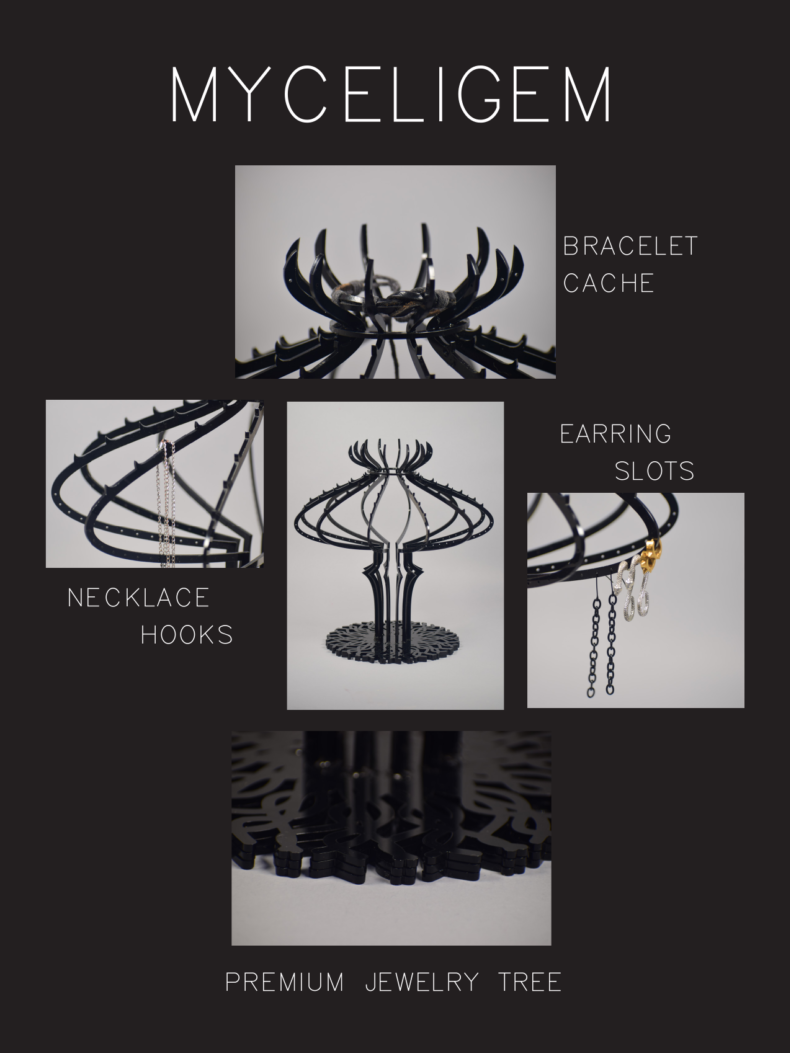
Project Documentation
I identified that I have a lot of jewelry that I keep in a box. This, in turn, led to sets becoming separated, entangled and I spend a lot of time digging through trying to find the piece I wanted. I started doing research into alternate jewelry storage devices and found jewelry trees to be visually pleasing and straightforward. However, I found the forms very similar and uninspired, so I wanted to develop one that better matched my personal style.
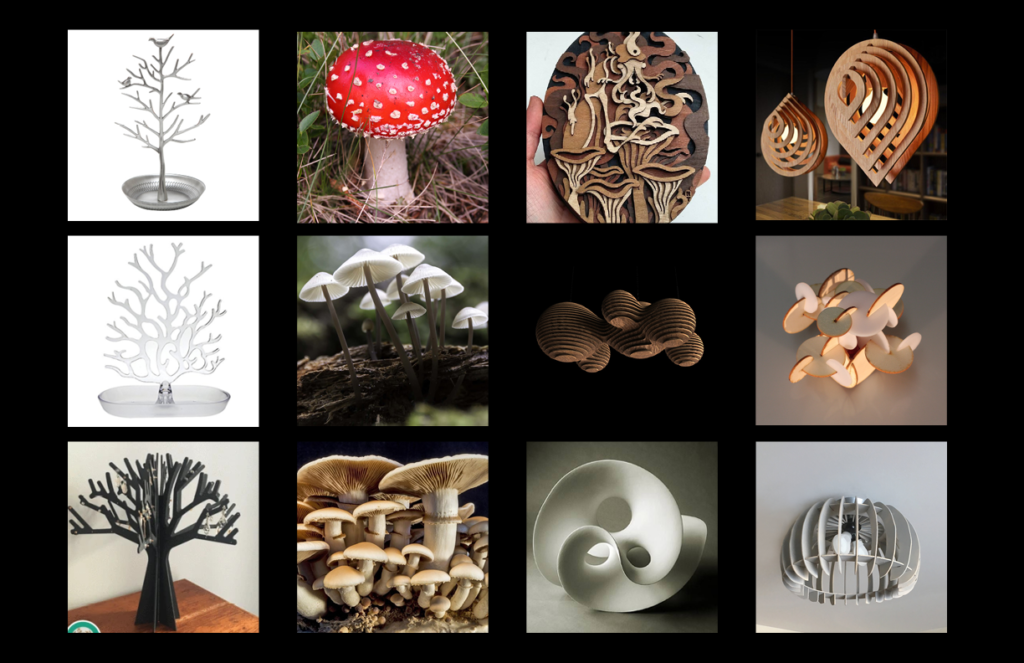
Inspiration Moodboard
I first made an inspiration moodboard in order to develop the mode of construction and type of form I wished to pursue. I personally find fungi to be interesting, and many different forms of jewelry trees already exist so I wanted to do something different from the norm for this type of product.
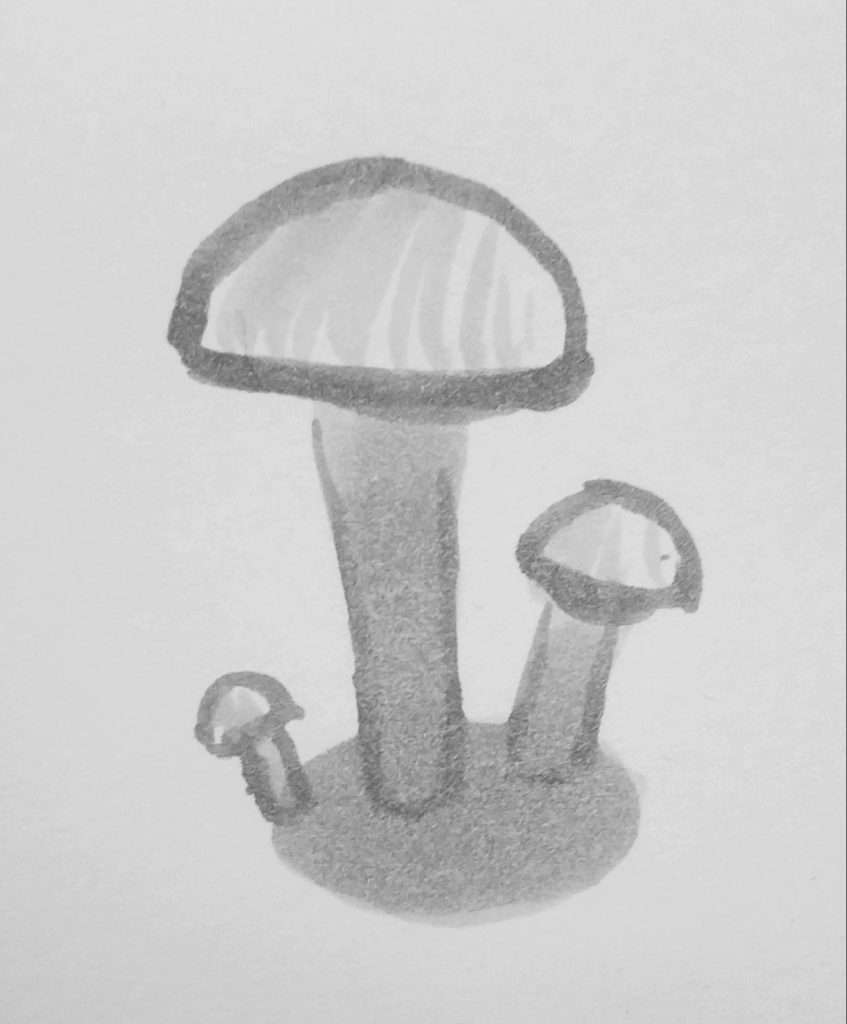
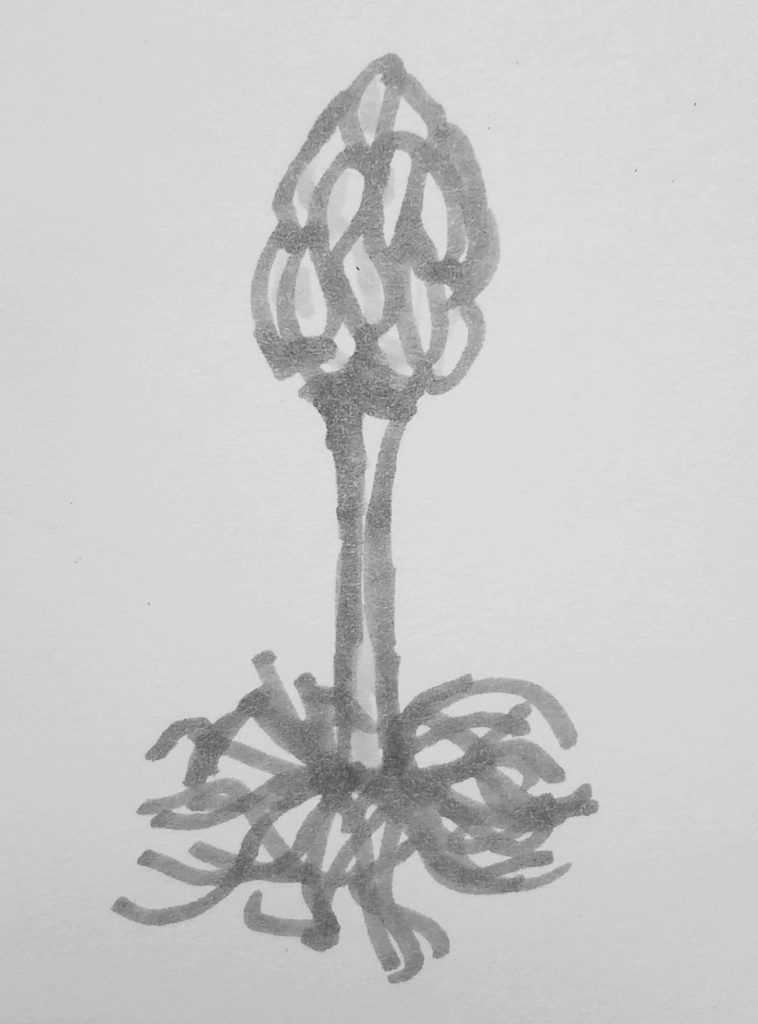
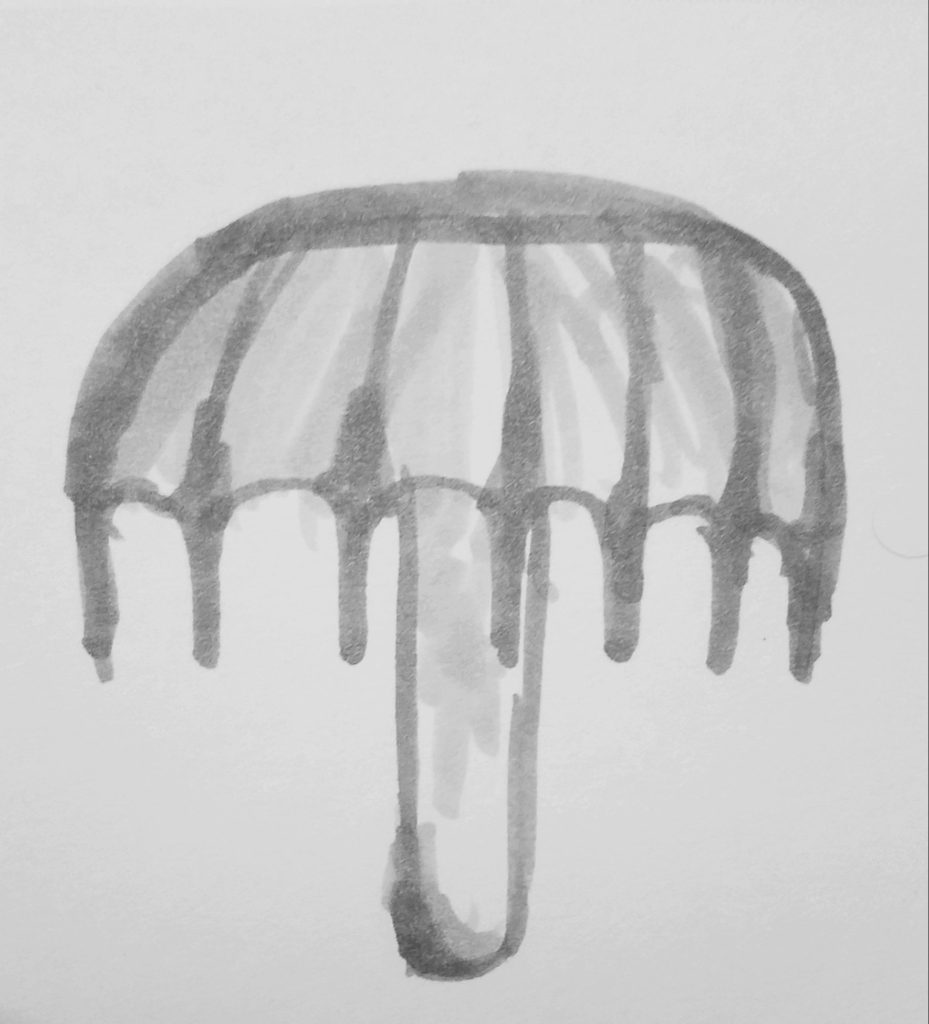
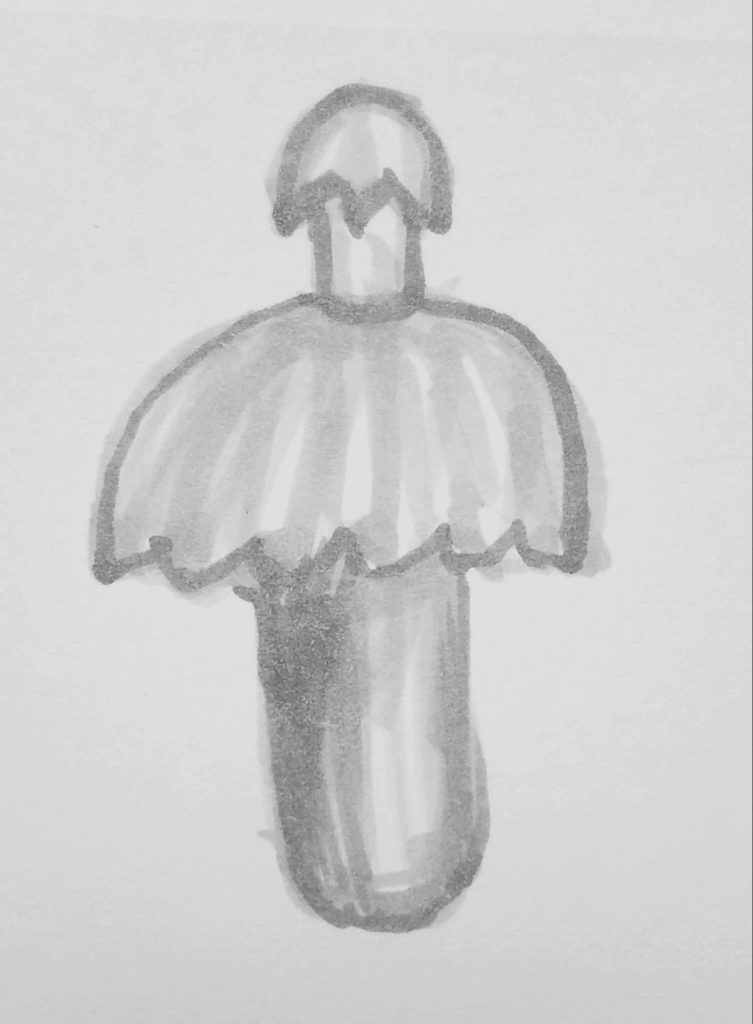
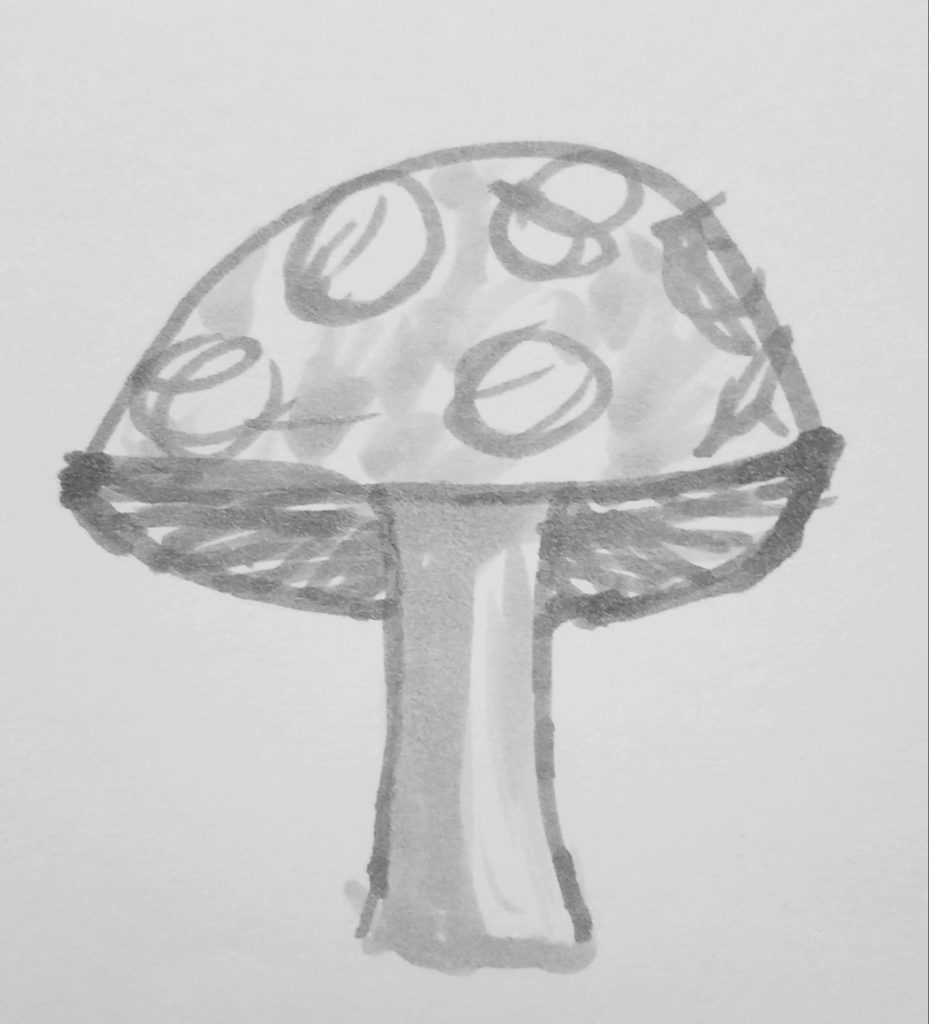
I then did some quick sketches of various types of mushrooms and tried to determine which key features of each and which aspects of them I wanted to incorporate into my design.
Initial form 
Form offset 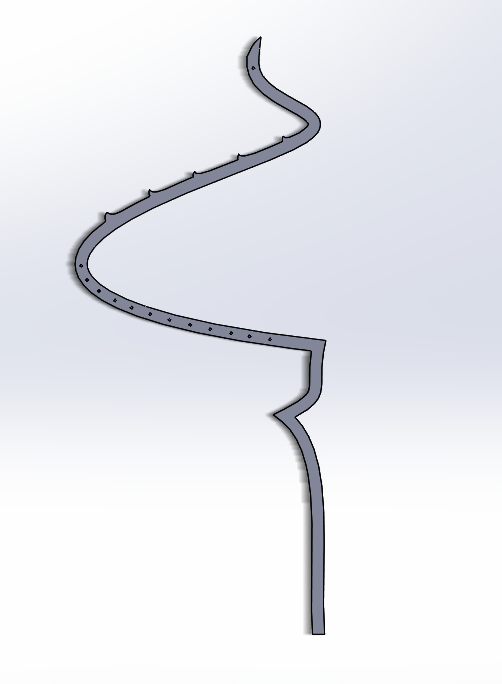
Earring hole addition 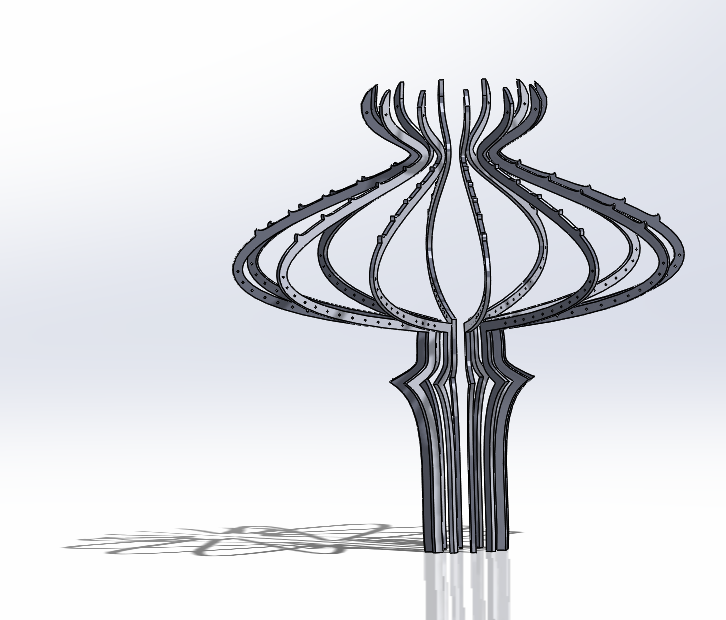
Initial Assembly
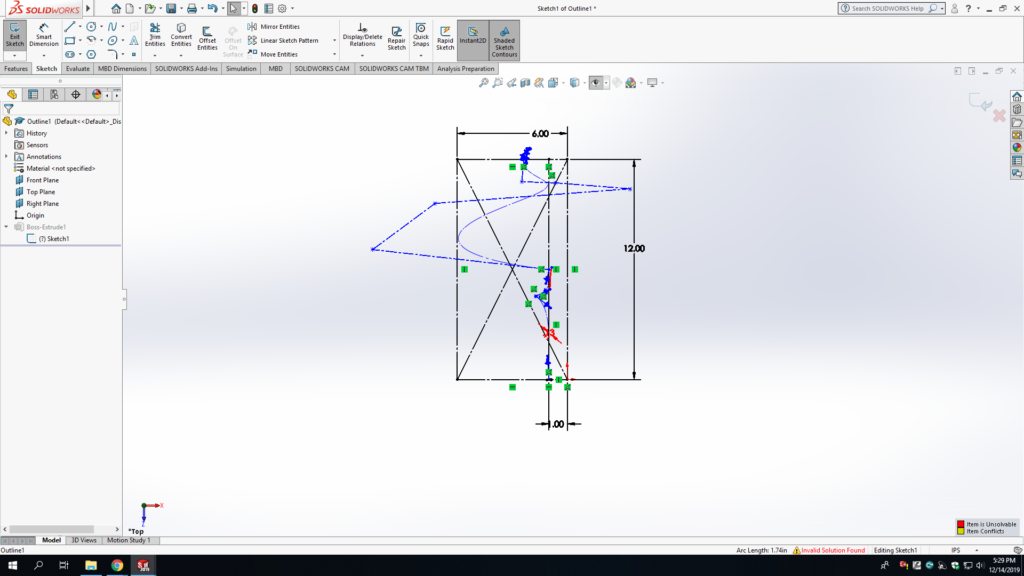
I took the forms I explored in my sketches and used them to develop an outline for the holder in Solidworks. I primarily utilized the spline tool to manipulate the general outline until I was happy with the dimensions and form factor. I then added all the necessary features and radially mirrored the part to make the main part of the holder.
Initial Growths 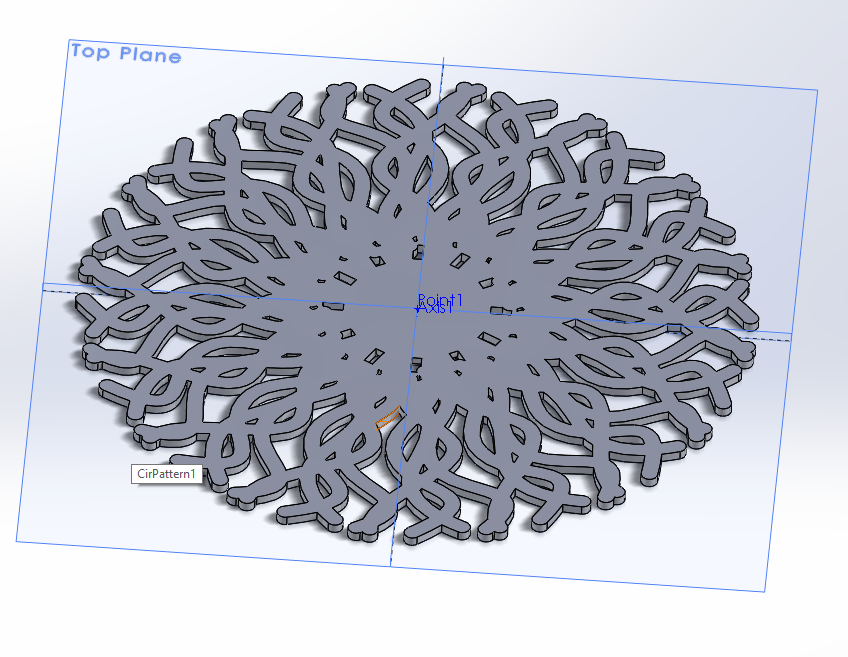
Radial symmetry 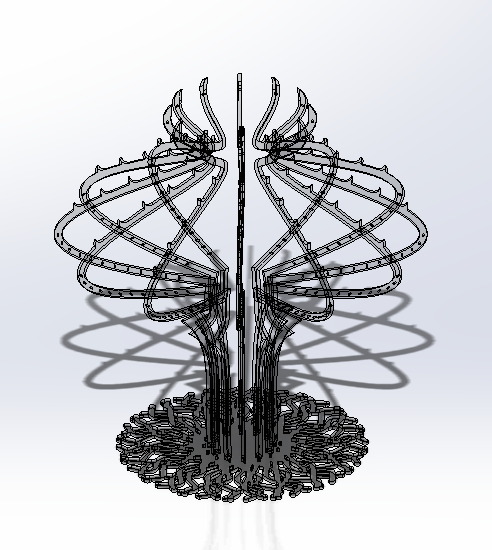
Assembly 2
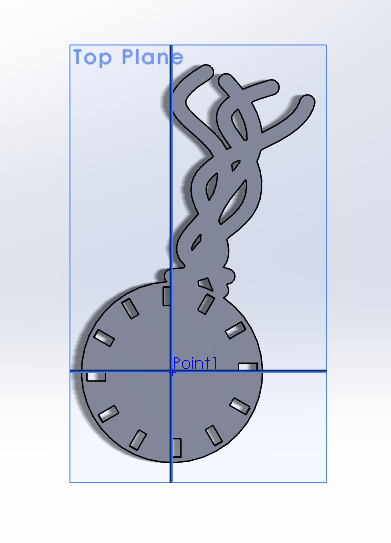
I then made a base for the top part of the holder to slot into, which I based off of lichens. I radially mirrored these roots and updated the assembly.
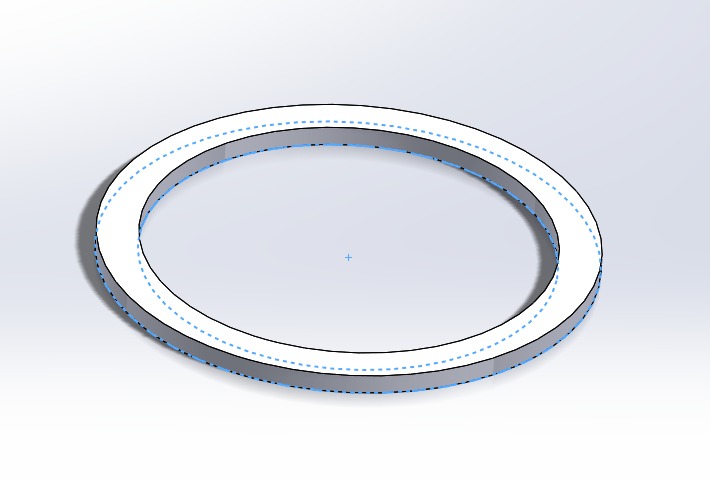
Capture Ring 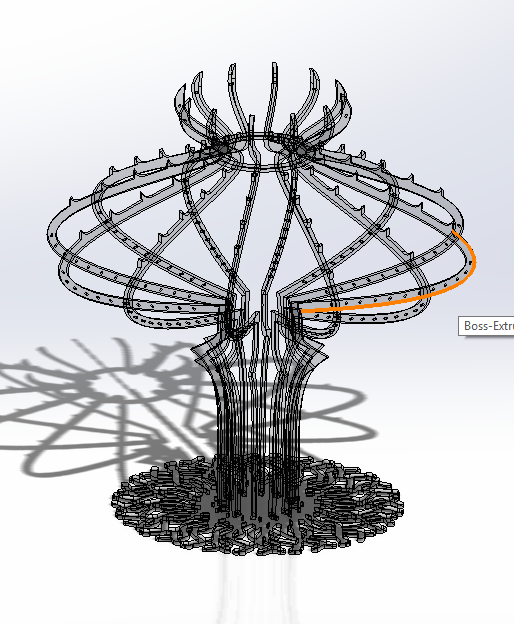
Final Assembly
To counteract weight and stabilize the top part of the assembly, I added a captive ring to resist the bending stresses on the individual members.
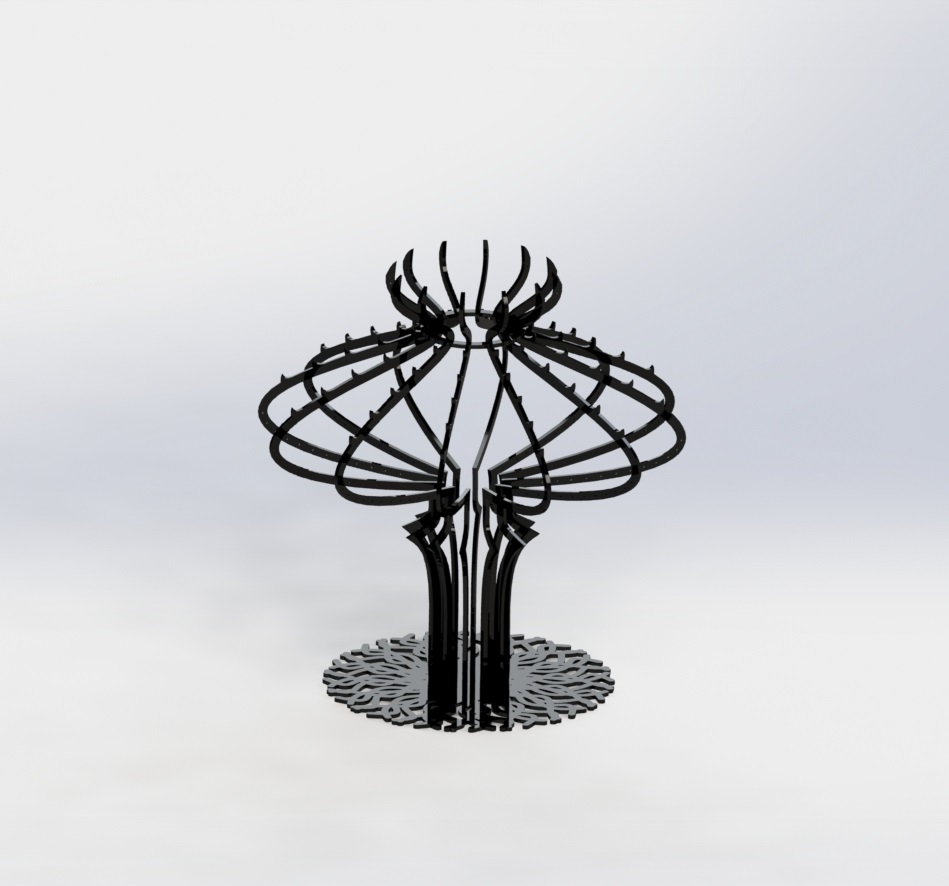
Final Rendering
I then rendered the final assembly and generated DXF files for each component so I could cut them out.
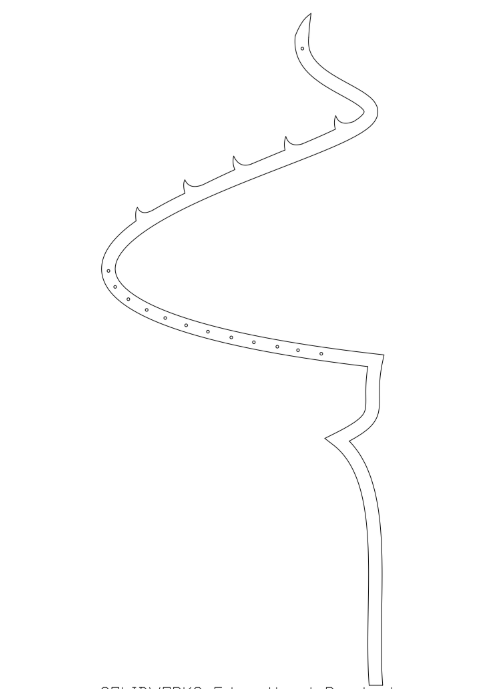
Outline DXF 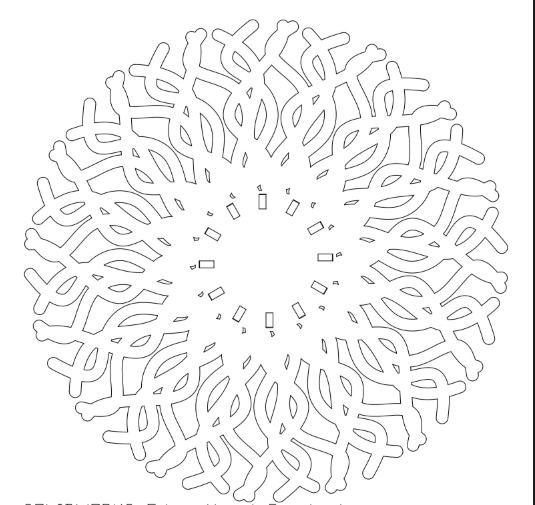
Base DXF 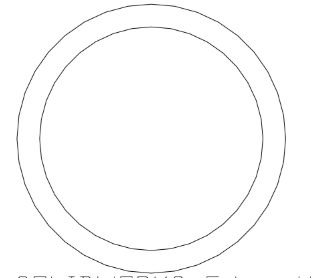
Captive ring DXF 
Laser cutting software 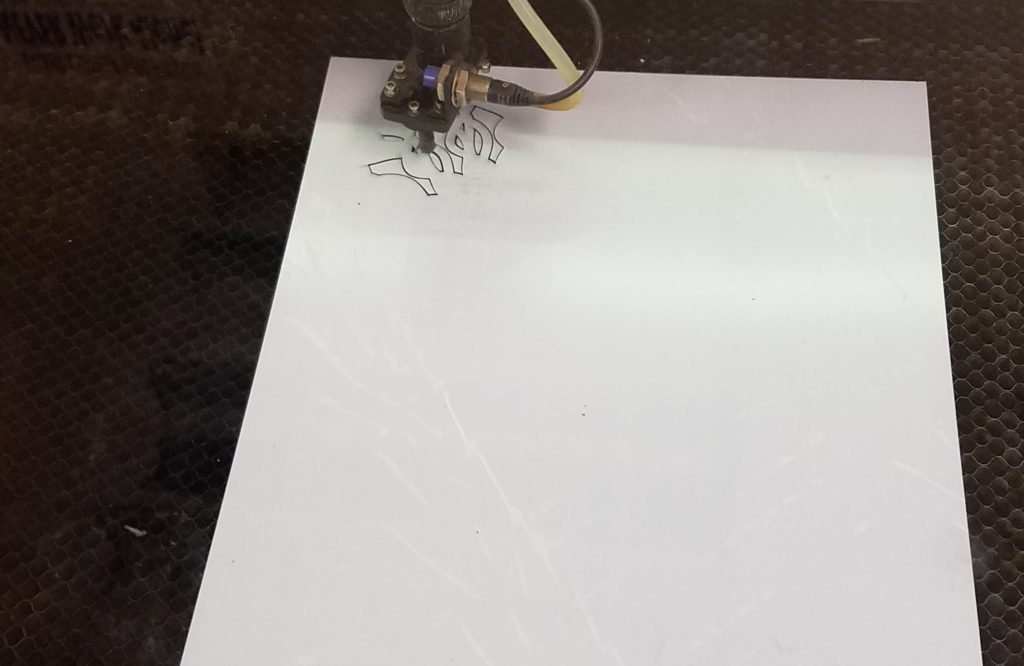
Laser cutter in action 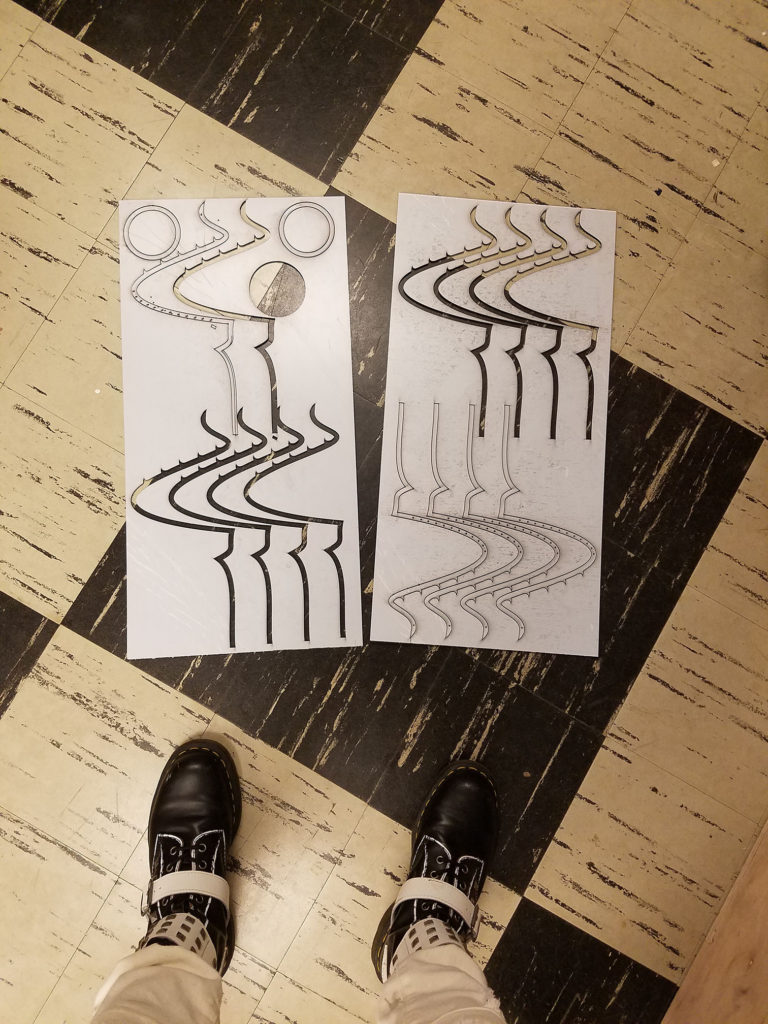
Several test cuts and failed cuts 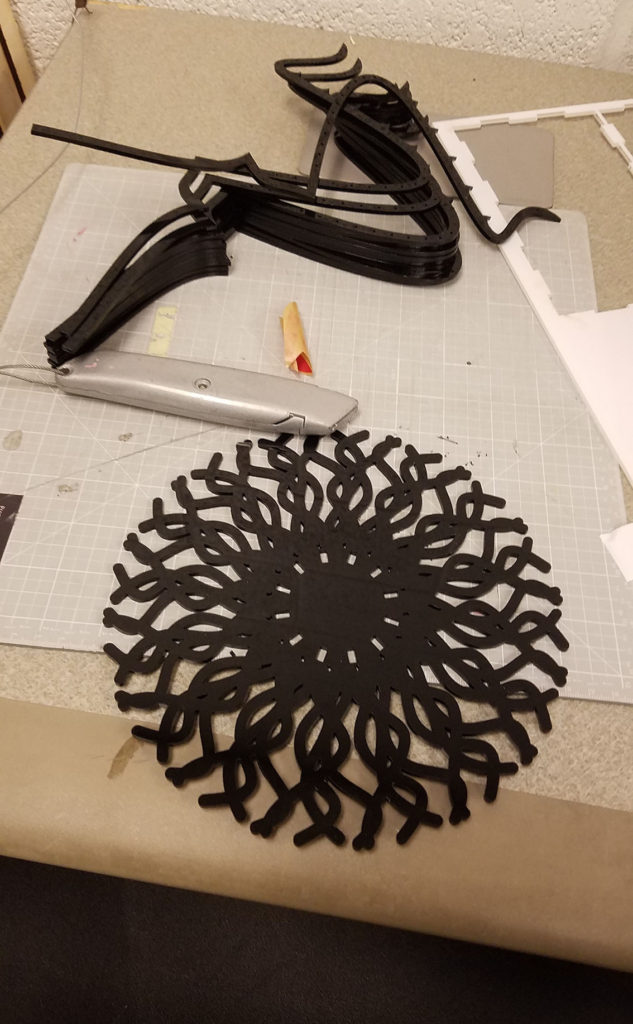
Majority of pieces for assembly
I utilized a Rabbit laser cutter and did a lot of test cuts in order to get the correct settings so the pieces would have clean cuts and no burn marks. I then cut out 12 outline members, 3 bases, and 1 captive ring.
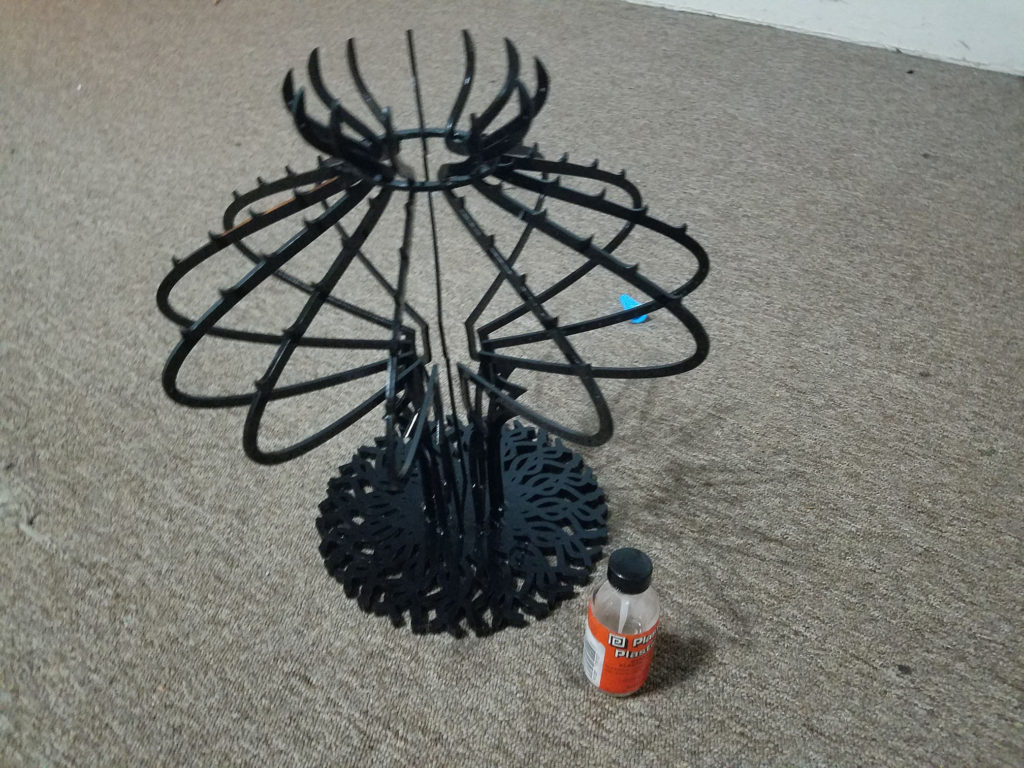
Post assembly
I used a mixture of heat bonding and acrylic epoxy to assemble the final piece. To do so, I stacked the bases and epoxied them together, then slotted each outline into its slot and epoxied them into place. I found that for the top captive ring, there was not enough surface area for the epoxy to bond properly, so I used a heat torch to melt the pieces together.